


If you would like to watch the video tutorial of these bracelets just click here!

What you will need;
- Beads - any size or style you prefer, get as creative as you like!
- One 26 Inch and one 19 Inch piece of hemp cord - again be as creative with colors as you like!
- A button
- Also you might want to have on hand some tape, scissors, and some sort of measuring device

Begin by folding the 26 Inch piece of thread in half, forming a loop. Align one end of the shorter 19 Inch strand with the two ends of the longer strand, creating two parallel loops.

Tie a knot approximately a half inch from the top of the loops (note this loop must be big enough to fit around your button, but small enough so that the bracelet is not falling from your wrist).
Snip off the fourth shorter strand, leaving yourself with three equal strands to work with.

Secure your cord to a flat surface using some tape (you will find it much easier to work this way once you begin beading).
Begin by doing a simple braid (approximately an inch an a half - but this is completely up to you depending how on many beads you would like to use).

Now you can begin adding your beads into the mix. Thread a bead onto the outer most strand that is needing to be braided next. Push the bead up against the braid and cross the strand over to the middle as you normally would. You can then thread a bead onto the opposite outer strand which is to be braided next, push it to the base of the braid and cross the strand over.

Continue threading beads on then crossing over, making sure to keep the braid tight (I recommend using one finger to hold the last bead in its place - see video linked above for a more detailed view).

The further you get with your beads, the easier it becomes to keep the bracelet tight and in order - this does all take practice but is very easy once you get the hang of it!
Finish the bracelet off with another inch or so of normal braiding (ensuring at this stage you measure it against your wrist for proper length).
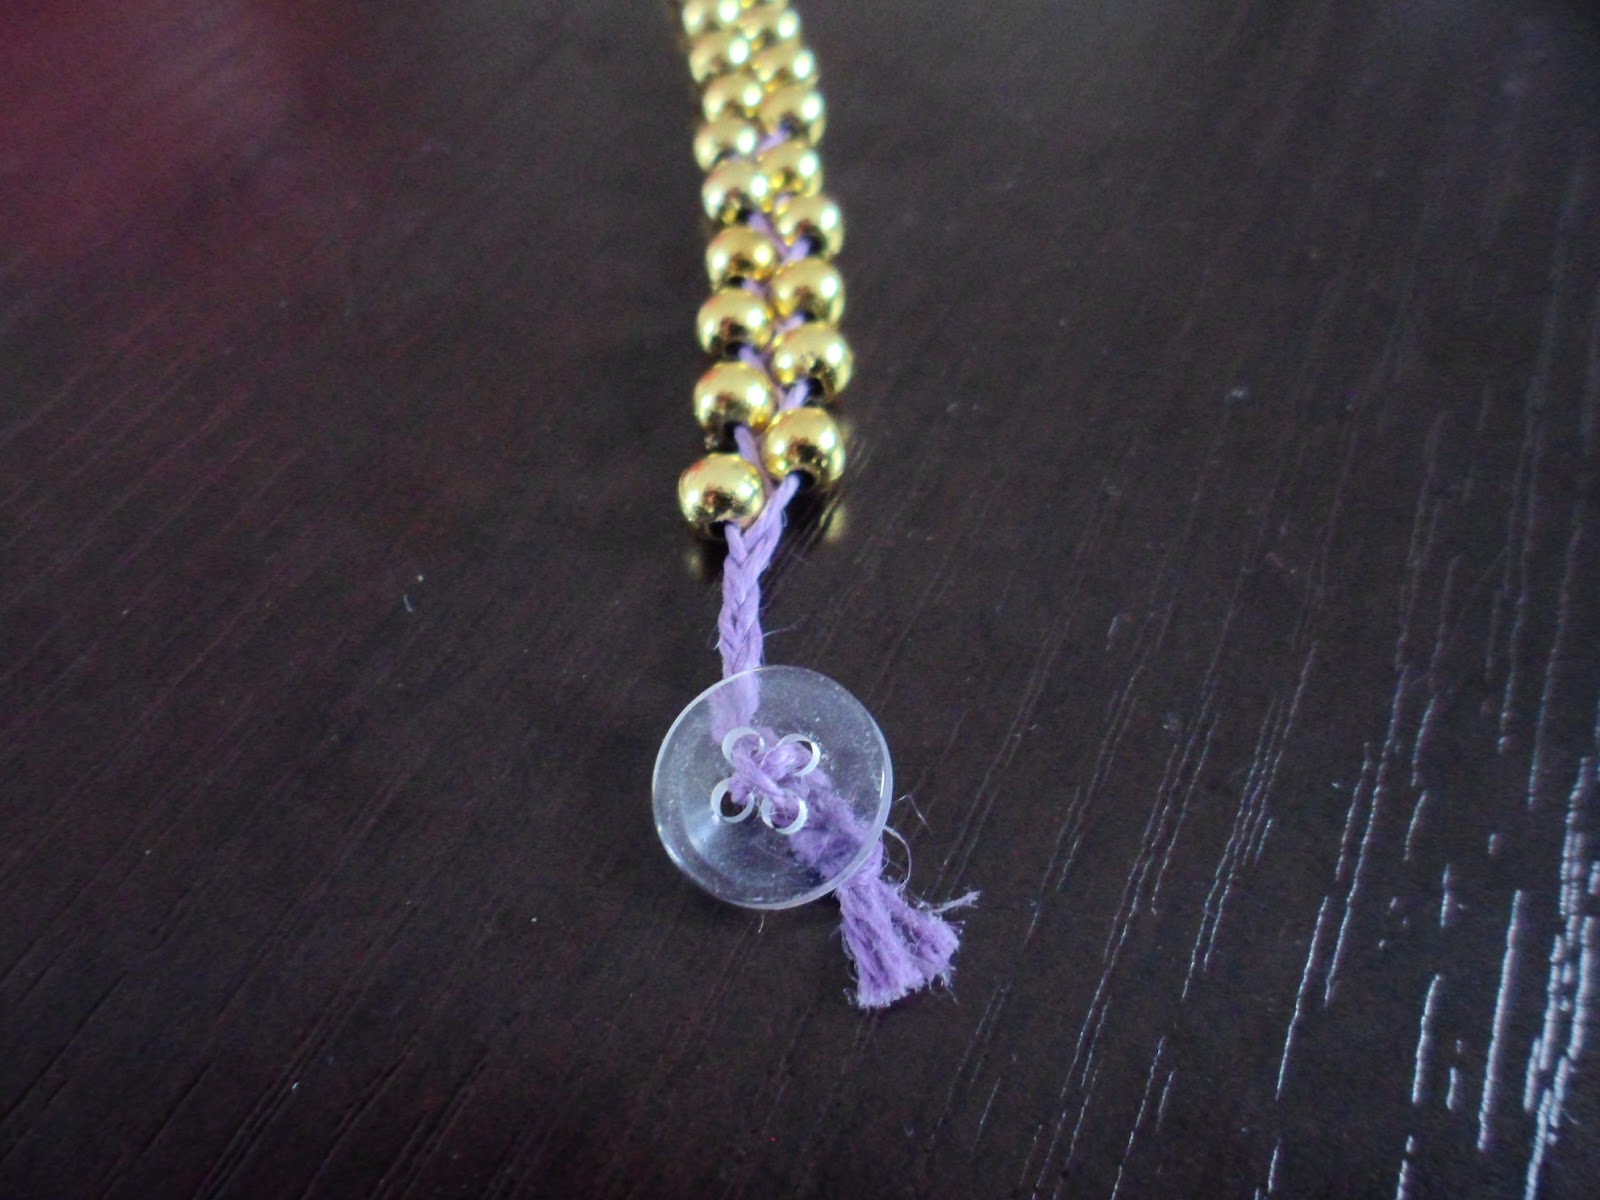
Then thread your button onto the strands once you feel you've braided enough - thread the strands through the button holes. Tie several small, and then one final secure knot at the back of the button. Trim the ends.

And your bracelet is finished!
I suggest making these in all sorts of colors so you can mix and match them easily with all your other jewelry!
xo, Hannah
No comments:
Post a Comment